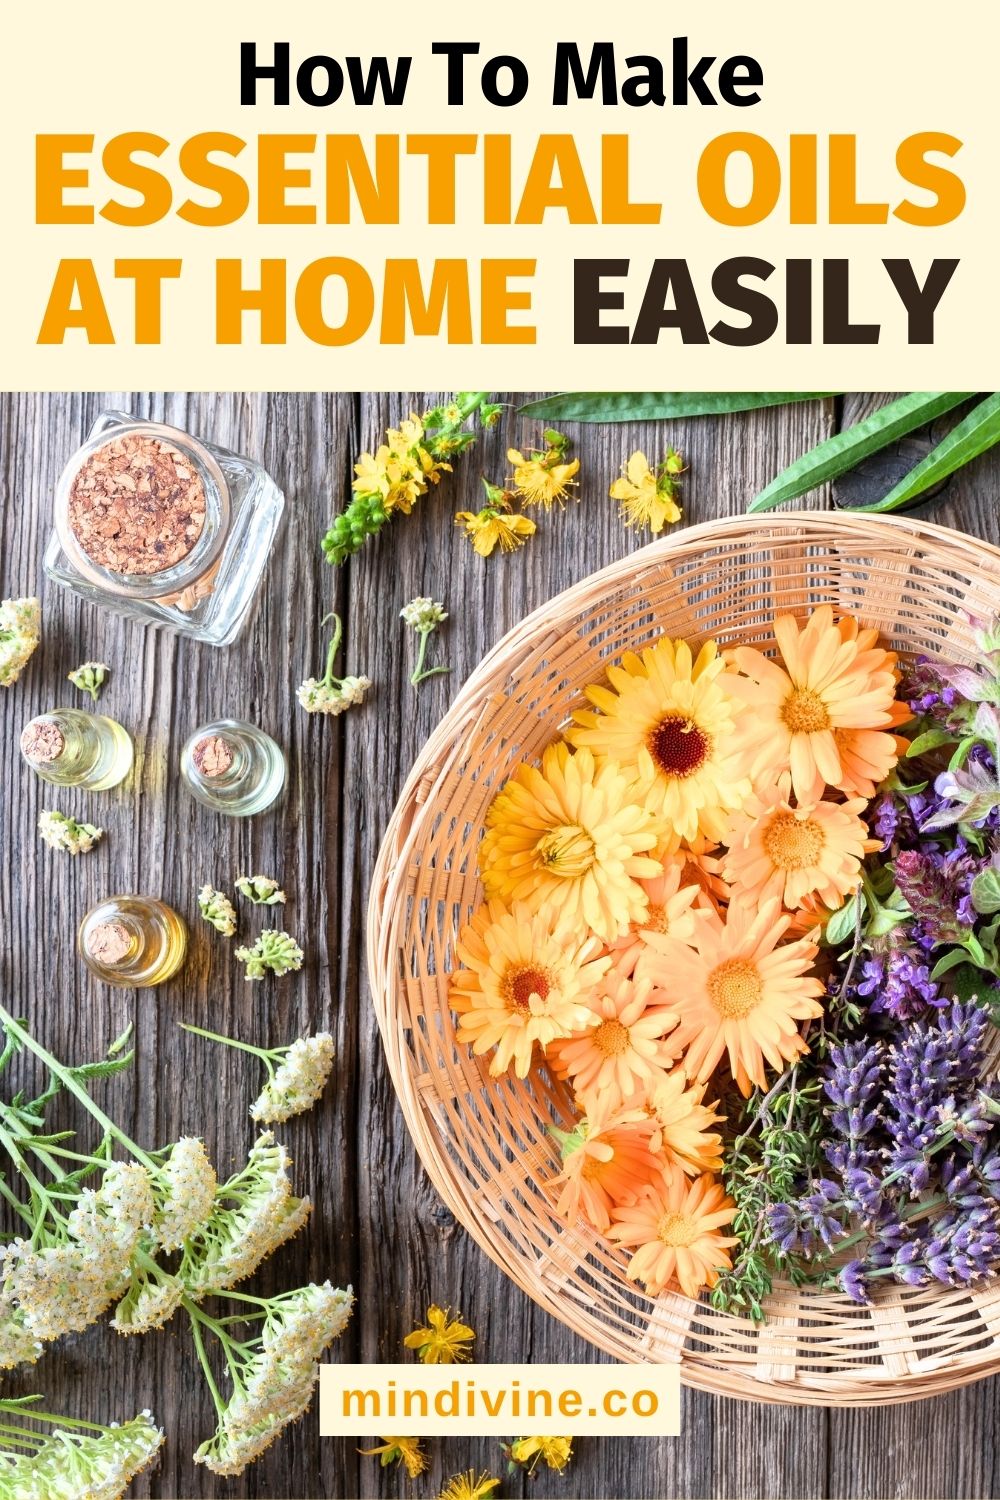
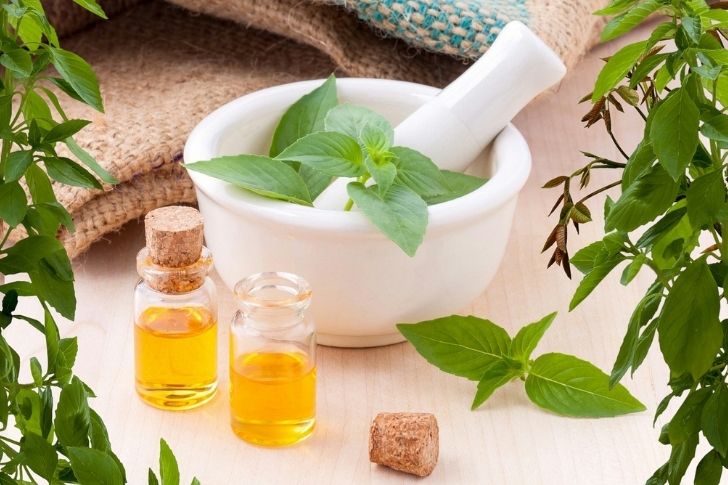
Would you like to learn how to make essential oils at home? Then stay here because, in this post, I will give you the keys needed to make DIY essential oils.
Pure essential oils are obtained by different methods depending on the plant. The most common is steam distillation; the plant releases the oil into the steam, and when converted into liquid, it can be separated.
Another option is the infusion or maceration method; the essential oil is extracted by mixing it with alcohol (which then evaporates) or with a base oil.
Let’s see how you can follow these processes in your own home.
Before Making Your DIY Essential Oils
If you want to learn how to make your own essential oil, the first thing you have to do is plan your process.
The most important thing is to choose which plant you want to take the extraction from because this will impact everything else.
The list of essential oils to make at home is very extensive. But, let me tell you that the choice will depend on two factors:
1) The plants you have within your reach. It is not the same to live in the North as in the South or to be in spring or winter. The plants available to you depend on your region and time of year.
2) The function you want your oil to have. For example, lavender oil is widely used for massages, rose oil for perfumes, etc. You can adapt this to your preferences!
You have to know from which part of the plant the essential oil is obtained and when it should be harvested. In some plants, it must be done while it is in flower, for example, while in others, the best time is when the flowers are withering.
I recommend that you look for specific information about each plant, so you will get much more oil and better quality too!
When collecting the plant, do so as carefully as possible so as not to lose oil.
If you are going to buy a plant already cut, try to make it as whole as possible and also try to make it natural, so your oil will not have any trace of pesticides or herbicides.
Finally, you have to decide which method of oil extraction you will use. This depends on both the plant and the materials you have at home.
Not all methods work equally well for all plants, but you can always extract something even if it is not the optimal yield.
Now, I will show you how to make essential oils with a still (by distillation) and by maceration.
How To Make Essential Oils At Home
Making Homemade Essential Oils by Distillation with a Still
Equipment
To make essential oils with this method, you need a still, a utensil specifically designed to perform the distillation.
If you don’t have one, you can easily buy one on the Internet, choosing from different types. Mind you, they don’t come cheap.
1. Introduce the plants and water into the still
The first step is to ensure that the material is clean and disinfected, especially if we are going to use the essential oils later for topical use or in the preparation of creams, soaps, etc.
Then the plants must be introduced into the still. Ideally, they should not be in direct contact with water so that the oil separates only by evaporation. To do this, you can put water at the bottom (distilled or as soft as possible) and the plants on top of a metal grid or grate.
You can put as much plant as you want; the more you put, the more oil you will get.
2. Start heating
The next step is to turn on the heat. It has to be more or less at medium temperature, but you can regulate it later.
3. Cooling the tube
Immediately, you have to cool the coil, that is, the tube through which the vapors will pass. This is the only way to turn it back into liquid.
To do this, you have to fill the cooling tank with cold water. Bear in mind that it will heat up quickly due to the heat of the tube, so you have to be careful.
You can change the water, or pump in more cold water or even add ice to make it last longer.
4. Collect the essential oil
Shortly after the water has been heated, you will see an oily fluid start to fall from the tube; this is the hydrolate along with the essential oil.
What happens is that when the temperature rises, the water and oil contained in the plant evaporate. In the form of steam, they rise and try to get out, so they then get captured in the tube. As this is cold, they liquefy and return to a liquid state, thus falling into the collecting bottle.
You have to adjust the temperature of the fire so that the fluid falls as a fine thread, neither drop by drop nor gush.
We recommend that you are monitoring the entire process so that no accident occurs. Accidents are not likely as the still is safe, but it is always better to be safe than sorry.
5. Separate the essential oil from the hydrolate
The hydrolate is nothing more than a floral or aromatic water of the plant, which has properties similar to those of the essential oil but is much less concentrated.
Many things can also be made with it, for example, candles or soaps, although it should be considered that much more is needed to obtain the same effect.
The last step is to separate the hydrolate from the essential oil. When you see that no more oil comes out, that it is only hydrolate, turn off the heat source and let it cool down.
Then you have to carefully collect the oil (it will have remained on the surface) and store it in a dark, well-labeled jar.
The simplest way to collect this is with an eyedropper, but you can also use other tools, such as a decanter funnel.
6. Save and use
You will see that you get only a few milliliters of oil, but don’t be disappointed by the result! This oil is extremely concentrated, so the yield you get will go a long way, and you will see that the quality is worth it.
As they have all the active ingredients in much higher concentrations, these oils are perfect for aromatherapy, diffusers, perfumes, or for cosmetic products and soaps.
A few drops will be enough to give aroma and beneficial properties to your products.
If you are going to use it topically, that is, apply it to your skin, remember that you should always dilute the essential oil in a carrier oil.
Making Infused Oils (also Known as Macerated Oils)
Equipment
If distillation seems complicated to you, you may want to know how to make essential oils without a distiller.
The method is by maceration. In this case, much simpler equipment is needed, an airtight glass jar and a base or carrier oil.
1. Prepare the plant
First, choose the plant you want to macerate. Choose the part you are interested in and let it dry. If you remove as much water as possible, you will get a purer oil.
2. Mix the plant and the base oil
The second step is to put the plant and oil into the glass jar.
You have to put approximately 100 grams of plant for each liter of mash.
The base oil is olive oil (extra virgin) or another, for example, almond oil. The important thing is that it is of good quality but not very aromatic so as not to mask the smell of our plant.
Optionally, you can add some jojoba oil (as it has antioxidants and fatty acids that make it a good preservative).
When you fill the jar, make sure that the oil covers the plant completely; otherwise, it could be spoiled.
3. Wait for the maceration process
Then it’s time for patience. Leave your jar tightly closed in a place away from direct sunlight and extreme temperatures for six weeks!
The weather may vary a bit, but you will only see the best results after a month and a half.
It is also convenient to shake it every day so that the oil impregnates the plant well.
4. Filtering, storing, and using the Essential Oil
When all that time has passed, strain the oil or filter it through some thin cloth that will not release lint, such as cheesecloth.
Then pack it in a dark, labeled bottle, and voilà! You have your essential oil.
When you save it, you will see that you have obtained much more oil than with the distillation method.
However, it is important to note that although it maintains the properties of the plant’s essential oil, it will not be as concentrated but will already be mixed with the carrier oil. This will affect the aroma and the amount you have to use in each case.
But the fact that the oil is not so powerful does not make it any worse. For example, this method is perfect for obtaining essential oils for massages since you get much more with less work.
If you want them to be aromatic, we recommend you use almond base oil, which is less aromatic than olive oil.
Conclusion
Now that you have all the information on how to make essential oils at home with all their benefits don’t miss out on the opportunity!
You can see for yourself how you save money, gain in quality, and, above all, have the opportunity to customize the oils to your preferences.
Join us at home and enjoy your natural, organic, and 100% pure oils!
If you liked this post, please share it. Save THIS PIN below to your DIY Essential Oils board on Pinterest and check it later! 🙂


